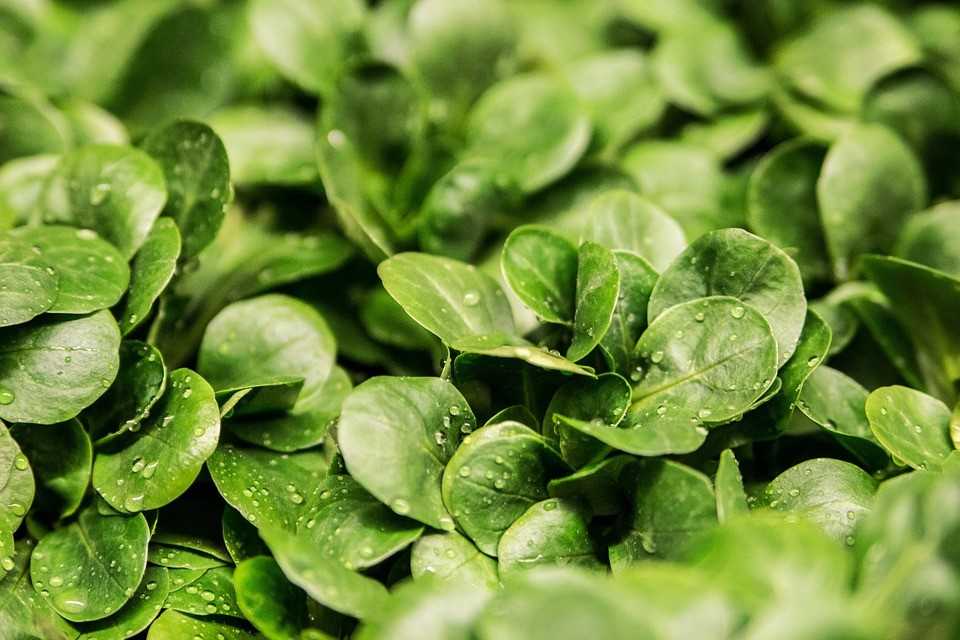
As summer draws to a close, it can be discouraging to realize that fresh produce will not be as readily available. Farmers’ markets typically start to thin out towards the end of summer and the roadside stands of fresh fruit and vegetables become few and far between.
What better time to grow your own greens? While you may not have the time or garden space to grow your own traditional vegetable garden, you can easily grow microgreens, which are the very early versions of herbs and vegetables, inside your home. By planting your own microgreens, you are carving out the time to be mindful as you cultivate your tiny indoor garden, while preparing to fill your plate with the healthiest and freshest of foods and brightening up your living space in the process.
Microgreens are small, edible houseplants (at the seedling stage, for planting) that are highly nutritious, easy and quick to grow. Micro versions of radish and red cabbage, for example, contain higher concentrations of vitamins C, K, and beta carotene than the fully-grown vegetables. Their flavors are much more intense as well. These small plants offer a variety of flavors and add a delightful presentation to any meal. And all that’s required to grow these small but mighty plants are some seeds, a container and water, and you are ready to grow!
Things to first consider
- Be prepared to set some time aside for this project, as plants cannot thrive with neglect. Remember your reasons for wanting to grow your own greens and use those as a constant inspiration.
- Carefully select a location in your home best suited for growing your own greens. Keep in mind that plants need sunlight (some microgreens need more than others) and will need watering on a regular basis. If you have pets and/or young children, be sure to keep plants out of their reach.
- As your plants grow, start a file of recipes in which you can use your home-grown foods so that as they become ready to eat, you are prepared to use them and they do not go to waste.
Getting started
First, decide what you would like to plant. Some options include radish, arugula, peas, sunflower greens, buckwheat, broccoli and red cabbage. Seeds for all of these microgreens and more are readily available at most natural health food stores as well as many farmers’ markets.
Select a container that will fit on your chosen windowsill. In the interests of recycling, you can use the plastic container in which your strawberries come from the supermarket, or you can use Tupperware, a small basket that will hold soil … anything in which small greens can be planted. Watering is minimal and so drainage holes are not required.
Soak your seeds. Check the labels on your seed packets, but most microgreen seeds require soaking for up to 24-hours before you plant them. This encourages faster germination and will lead to healthier plants. Experts suggest about a teaspoon of smaller seeds and a tablespoon of larger seeds, to start.
Planting
Fill your chosen container, up to about an inch from the top, with either organic potting soil or compost. It is not recommended to use soil from an outdoor garden. Keep the soil loose and moisten it by running the container under water. Remove your soaked seeds from their water, rinse them in a fine sieve and spread them in a single layer across the top of the moist soil. If you are using small seeds, the back of a spoon is helpful to spread them evenly. Seed heavily initially, and then add seeds every couple of days in order to keep yourself a recurring supply of your microgreens.
Use a damp paper towel to cover your contained garden. For the first few days, your container will need to be kept in a dark, warm area in your home so that the seeds can germinate. Remoisten the towel as needed and remember to check that the soil also remains moist. You can sprinkle water on the soil if it starts to dry out.
Growing your greens
After a few days, you should start to see your greens poking out of the soil. When the seed leaves and small stems are visible, remove the towel cover and put your container in a well-lit area. A sunny window sill is ideal, provided there is good circulation. Lightly water your greens each day, in order to keep the soil moist. Prepare to watch your plants grow quickly into edible microgreens!
Time to eat
Once the stems are between 4-6 inches long, and the first two leaves have opened up, your microgreens are ready to harvest! Using kitchen scissors, snip the plants just above the soil level, taking only what you need. When you have emptied your container of plants, compost the soil, thoroughly wash the container, and start again.
Happy, healthy eating!

What a fantastic idea!! I am inspired 😊
Love this! I am definitely going to have to start doing this!